Lisa, one of my fellow Master Forgers gave me great inspiration this month.
On her kit reveal on July 1st she mentioned that she had created a Pinterest Board which showed all the items that needed to be in her July Kit.
Wow- what an amazing idea!!! Whilst perusing her board and as a very keen Master Forger, I was wondering how difficult it would be to make my own Bingo Cards.
Now, I am lucky enough to have Craft Artist Professional and Photoshop Elements on my computer but knowing that not everybody has these software packages, I thought I would give it a go using something we all probably have Microsoft Word.

Not bad, even if I do say so myself!
I will do my best to show you how I made this card and I hope you will link back and show me yours!!!


 we can change the properties of the table.
 We now need to change the colour of the

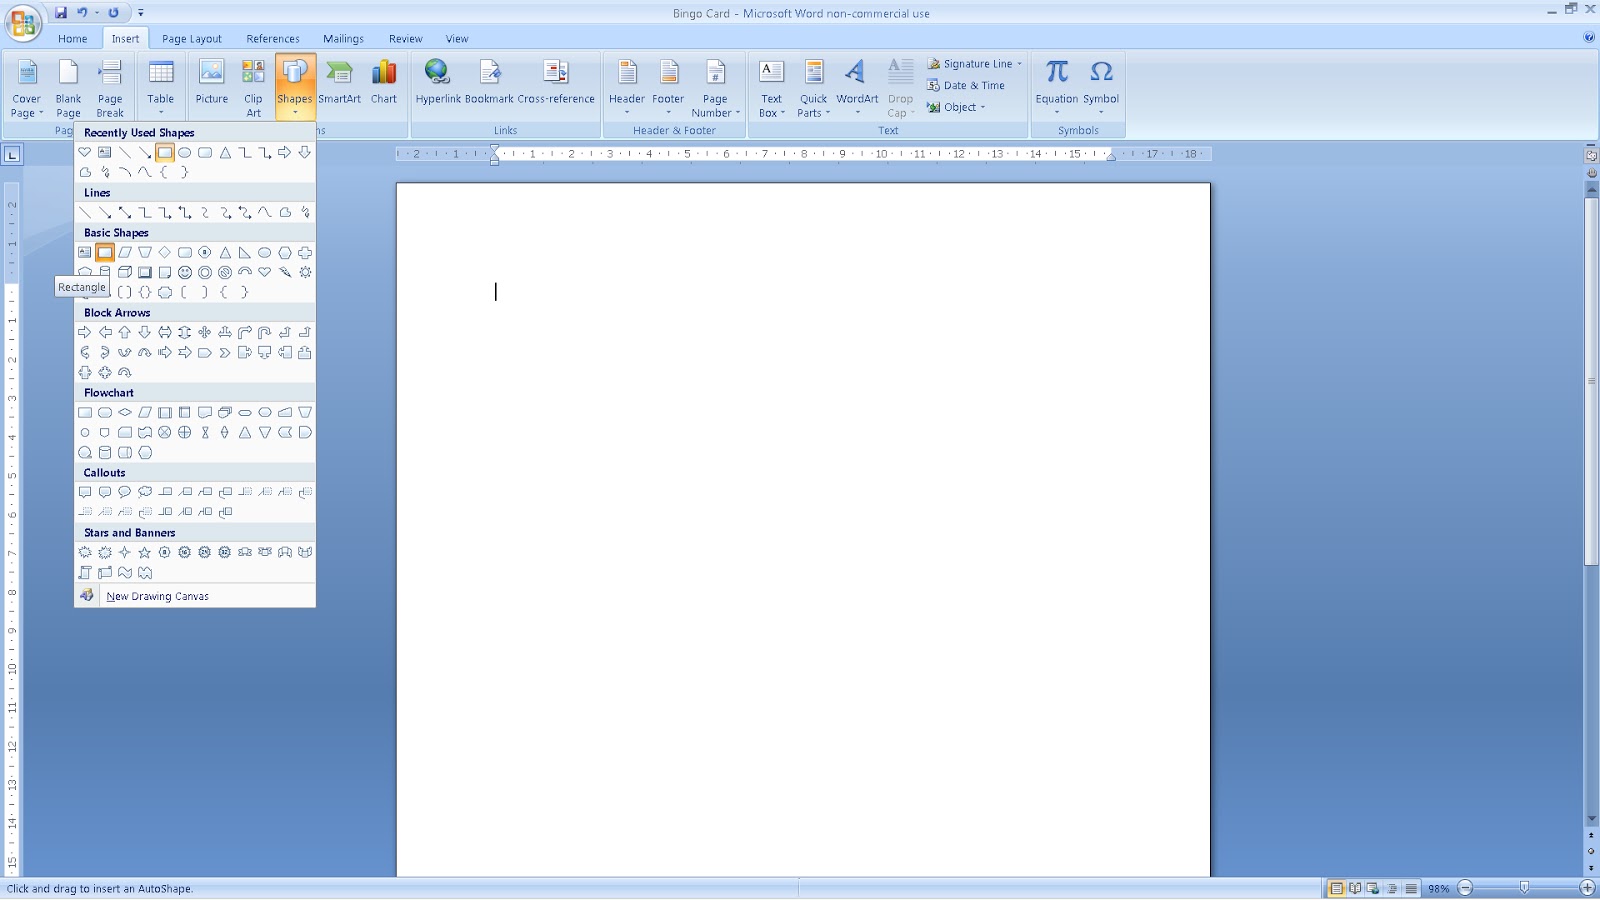
Open a blank Word Document
> Insert > Shapes > Rectangle.

Drag your mouse whilst holding
the left mouse button.
Change the height to 8cm and width to 6cm.
With the rectangle selected you can now
change the colour and style.

You can now create another rectangle 7.8x5.8
Right click on your new rectangle
> Format Autoshape >
Select your fill colour and select line colour to
white. Drag your second rectangle over the first..

With "Home" tab selected > Select Objects
Drag mouse around objects.
With "Format" tab selected > Align
> Align Centre > Align Middle
Your rectangles will now be centralised.


Create another rectangle
height 1.5 width 5.6 with white fill and white line
Now drag into place.
Now we need to insert some wordart.
> Insert > WordArt
Type your text and choose your font.
Right click your WordArt and make your fill
and line colour options.
You now need to
select "layout" and "in front of text".
This allows you to move your text into your small
rectangle where you can resize it to fit.
You can now add shapes either side of your
word if required.
At this point it is a good idea to select everything you have done (do you remember from earlier?)
> Right Click > Grouping > Group. You can now move the whole thing around your page without leaving
bits behind. Now right click > Order > Send Behind Text

We now need to insert a table of 5 cells
across and 6 cells down.
By right clicking on the four arrows
 we can change the properties of the table.
Width 5.6 cms
Row 1.18 cms
Cell > Centre
Insert your numbers into each cell.
Highlight all your numbers then centre
and change font if required.
Change colour to white (your numbers will
disappear!!!)
Insert a white filled shape into the centre cell
 We now need to change the colour of the
table to white by going back to table
properties > borders and shading.
At this point it is easier to move the rectangles
over the table rather than trying to move the
table.
Give it a go, it's really easy after the first one (promise!).
Don't forget to link back so I can see your bingo cards.
This is my finished card...

Lesley...this is a great copy of the original. Thanks for the easy how-to! Thanks for your contribution.
ReplyDeleteLesley...this is a great copy of the original. Thanks for the easy how-to! Thanks for your contribution.
ReplyDeleteGreat idea and well done for the tutorial - I may get round to doing one of these one day!!! x
ReplyDeletethis is an awesome counterfeit! great job and I will be trying this out for sure. love those bingo cards and the chance to change the size to what I want/need and also the colour really appeals. Clever you!
ReplyDelete